


There are many ways to give your ami its eyes.
1. Use safety eyes. It is best for those ami that you intend to give to small children. An example is from Suncatcher Eyes (this site has some free patterns too!).

For this Worm free pattern from Suncatcher Eyes click here.
2. Simply stitch them on.

Picture from Tanya Dawn.
3. Cut out some circles from felt or fabric and sew/glue them on. Don't use washable glue please, use the glue gun. (Thanks to unicorn37757 over at crochetville for reminding me)

Picture from t0fugurl.
4. Use wiggly eyes.
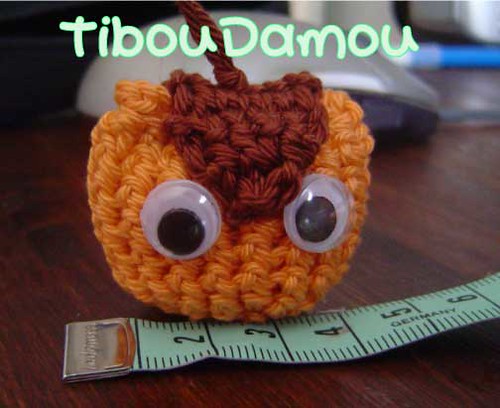
Picture from Maman de Celia & Alice.
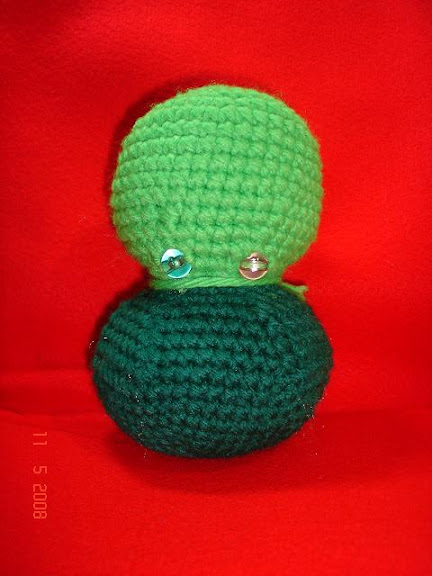
5. Insert some beads in between the stitches at the appropriate place. I learnt this method from the same video that I posted in Step Two. Plus side, definitely very safe. Minus side, once it's in, no way to get it out. So, a word of caution. Do this only when you are absolutely sure that you're placing it exactly where you want it to be.
Anyway, I used this method for this amigurumi I've made, obvious to see that I've placed the eyes too low! (Click on the pic to see my post about it on the other blog)
6. Sew a button on.

(Edited to add this pic by rengawk).
7. Anybody has anything more to add?
Edited to add 21 Oct '08:
I found this fantastic eye-painting tutorial from MyGurumi.


 Stumble It!
3 comments:
thanks to choose my little owl :) nice blog ;)
Maman de Célia et Alice
I know this post was a bit ago, but if you still need a photo of button-eyes, check out Lily!
http://www.flickr.com/photos/rengawk/891722999/
Yes, sure. Why not!
Thank you rengawk!
Post a Comment